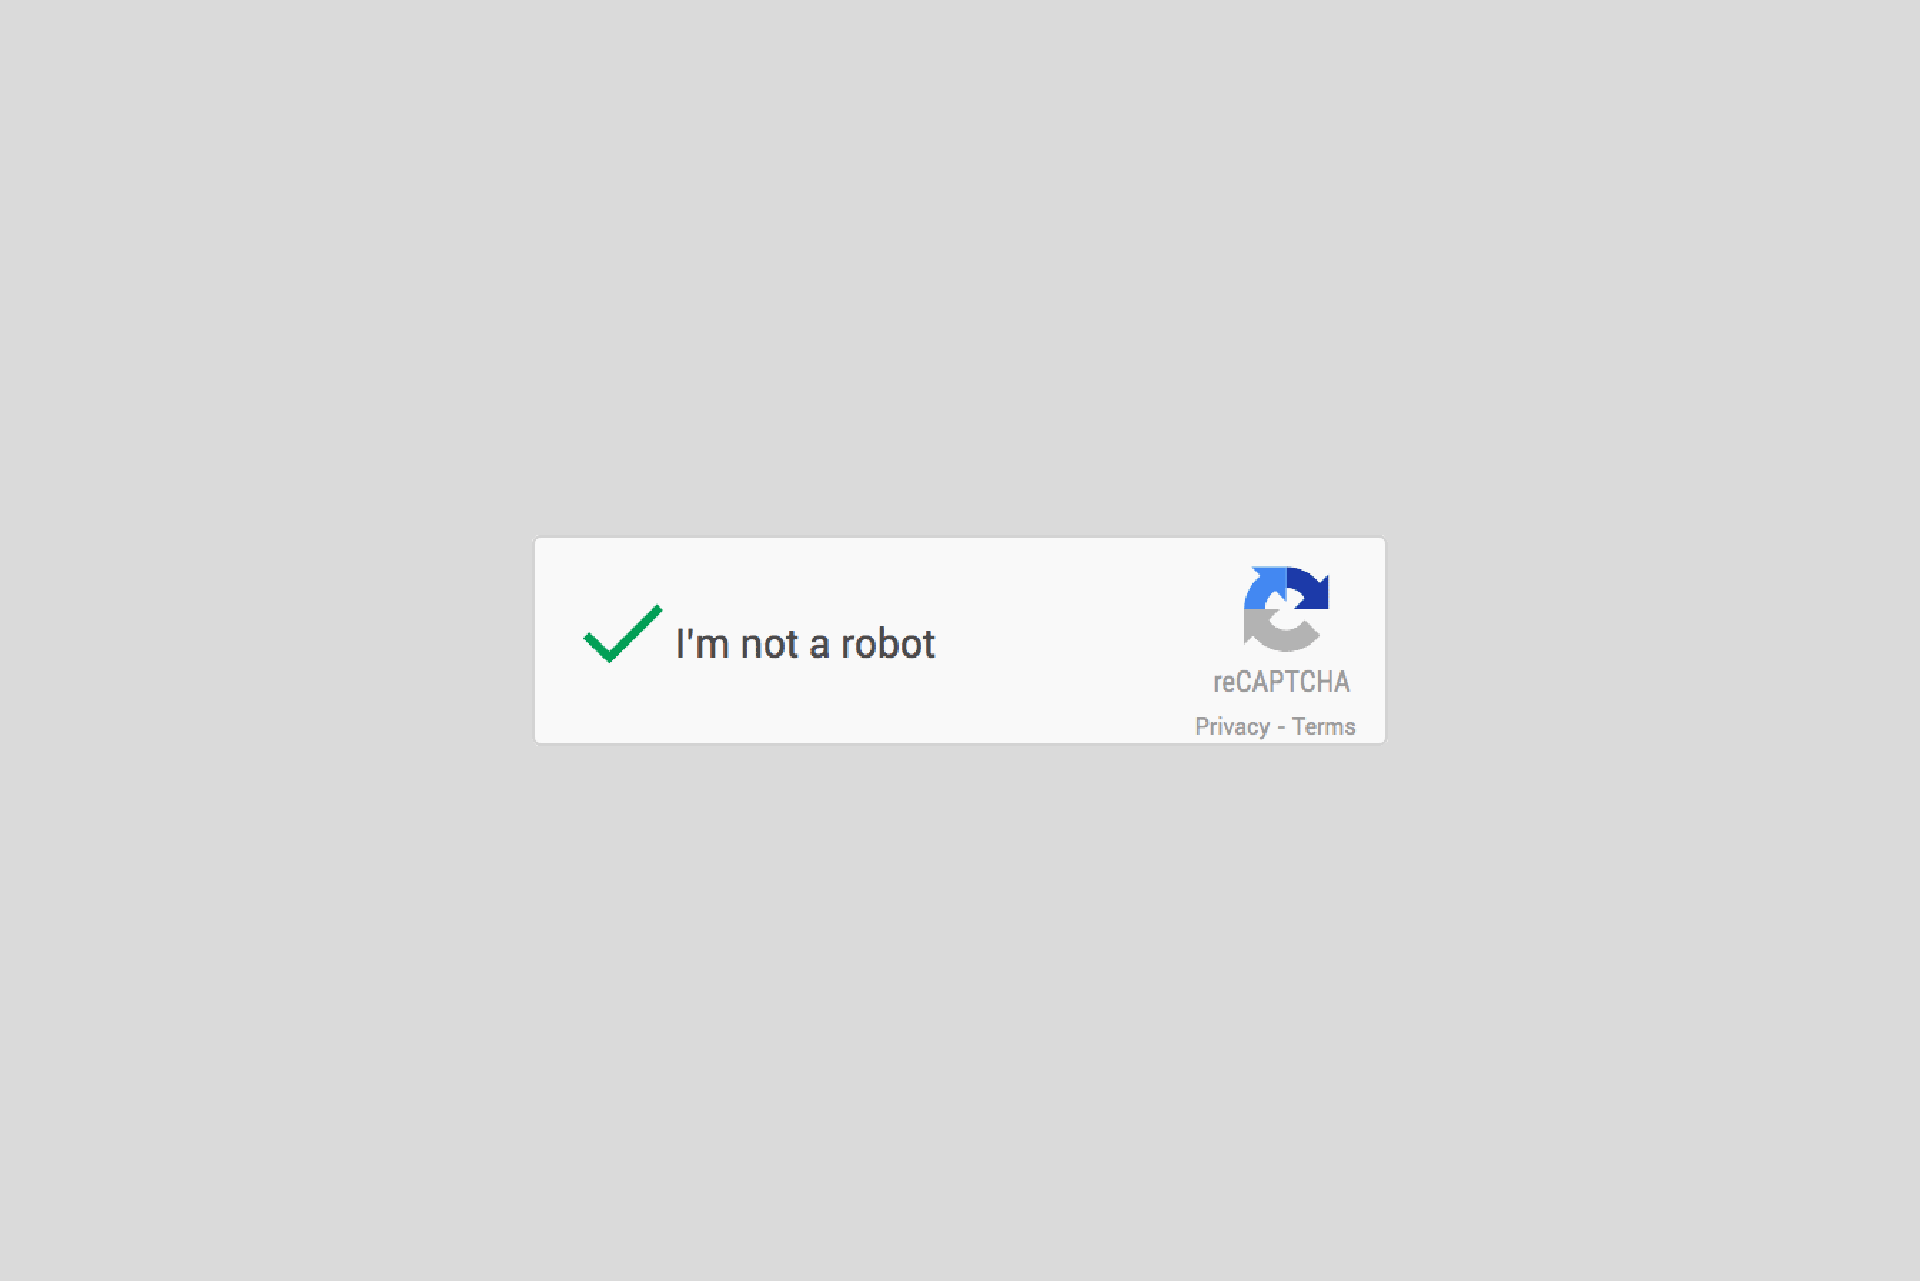
Google reCAPTCHA is a clean and simple anti-bot and spam protection for your website, common use cases would be for registration forms, comments, logins etc. It provides a simple one click solution for end users and comes in two styles (light and dark) to better fit your page design.
To integrate reCAPTCHA on your website, you will need a google account. After creating one, go to https://www.google.com/recaptcha/intro/v3.html and register your first site.
- Labels make it easy to identify your reCAPTCHA so name it something meaningful.
- We will be using the reCAPTCHA v2 -> Checkbox.
- Enter your domain name.
Although you will need to swap out your keys to the one generated in the setup phase, I would highly recommend using the test keys, they will always pass verification and will not make you solve image verifications.
- Test Site key: 6LeIxAcTAAAAAJcZVRqyHh71UMIEGNQ_MXjiZKhI
- Test Secret key: 6LeIxAcTAAAAAGG-vFI1TnRWxMZNFuojJ4WifJWe
Add your client side JS and widget to your form page. A sample html with a form and site key will look like this:
We will add our php backend code above this in our form.php page to keep it simple. Our server side secret key will be used to verify recaptcha.
Our final code:
Thats it! you stopped those bots in their tracks.
Note: Google provides a javascript implementation so you can use that if you use Node JS as a backend. do NOT implement it on your client side JS, you risk exposing your secret key
- Test source code on Playground
- Get source code from Github
